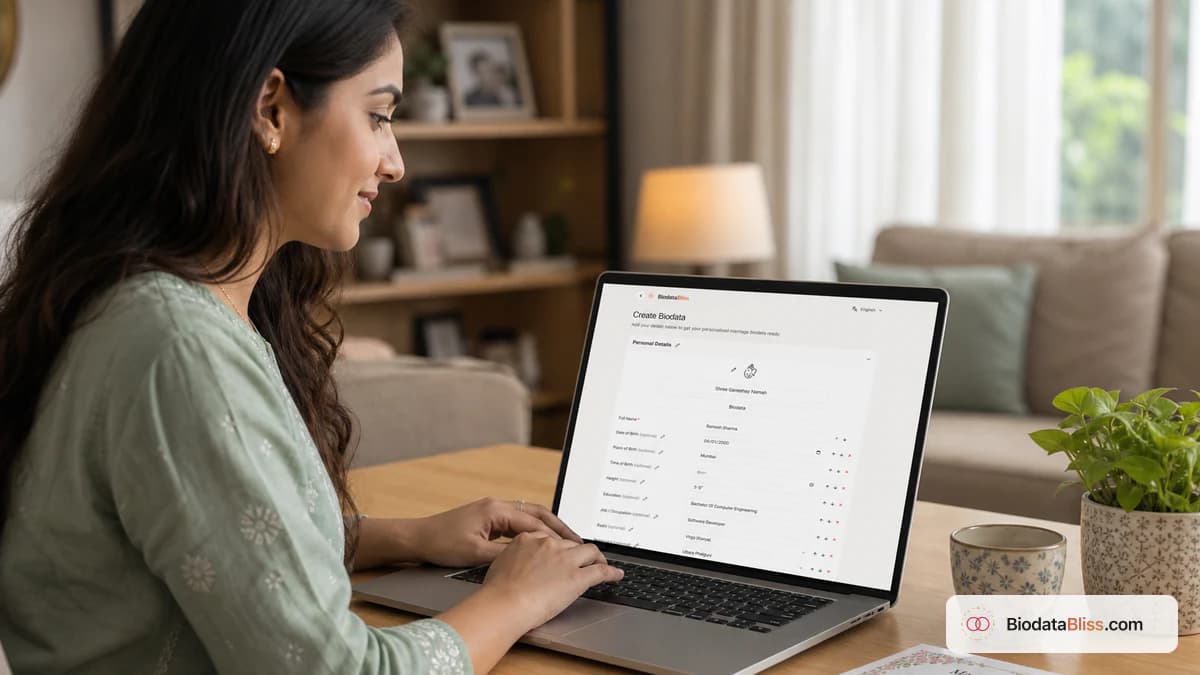
చాలా ఏర్పాటు చేసిన వివాహ సంభాషణలు ఒక చిన్న క్షణంతో ప్రారంభమవుతాయి: ఎవరైనా మీ బయోడేటాను వారి ఫోన్లో తెరుస్తారు. స్పష్టమైన, నిజాయితీగల పేజీ సెకన్లలో నమ్మకాన్ని సృష్టించగలదు. ఖచ్చితమైన BiodataBliss ఫ్లోను ఉపయోగించి ఆ పేజీని ప్రశాంతంగా నిర్మించడంలో ఈ నడక మీకు సహాయపడుతుంది.
వివాహ బయోడేటాను రూపొందించడం ఇదే మొదటిసారి అయితే, మీరు ఒంటరిగా లేరు. చాలా మంది వ్యక్తులు పదాలను ఎక్కువగా ఆలోచిస్తారు, కీలకమైన ఫీల్డ్లను దాటవేస్తారు లేదా వారు పురోగతిని సగం కోల్పోతారని ఆందోళన చెందుతారు. శుభవార్త: BiodataBliss ఒక గైడెడ్ ఫ్లోగా నిర్మించబడింది, కాబట్టి మీరు దశల వారీగా వివరాలను పూరించవచ్చు, టెంప్లేట్లలో మీ నిజమైన కంటెంట్ను ప్రివ్యూ చేయవచ్చు మరియు మీరు సంతృప్తి చెందినప్పుడు మాత్రమే చెల్లించవచ్చు. దిగువన ఉన్న ప్రతి లేబుల్ యాప్తో సరిపోలుతుంది కాబట్టి మీరు ఊహించకుండానే అనుసరించవచ్చు.
దశ 1: BiodataBlissని తెరిచి, బయోడేటా సృష్టించు నొక్కండి
మీ బ్రౌజర్లో, BiodataBliss హోమ్ పేజీని తెరవండి: https://biodatabliss.com/te(కొత్త ట్యాబ్లో తెరవబడుతుంది)మీ కుటుంబం అనేక సిట్టింగ్లను సమీక్షించి, సవరించాలనుకుంటే ఈ లింక్ను సేవ్ చేయండి.
హోమ్ పేజీలో, చదివే ప్రధాన కాల్-టు-యాక్షన్ క్లిక్ చేయండి ఇప్పుడే బయోడేటాని సృష్టించండి(కొత్త ట్యాబ్లో తెరవబడుతుంది)మరియు మీరు /te/create-biodata వద్ద గైడెడ్ ఫారమ్లో ల్యాండ్ అవుతారు. ఇది వేగవంతమైన ప్రారంభ స్థానం ఎందుకంటే ఇది మిమ్మల్ని మాన్యువల్గా విభాగాలను ఫార్మాట్ చేయడానికి బదులుగా నిర్మాణాత్మక ప్రవాహానికి నేరుగా తీసుకెళుతుంది.
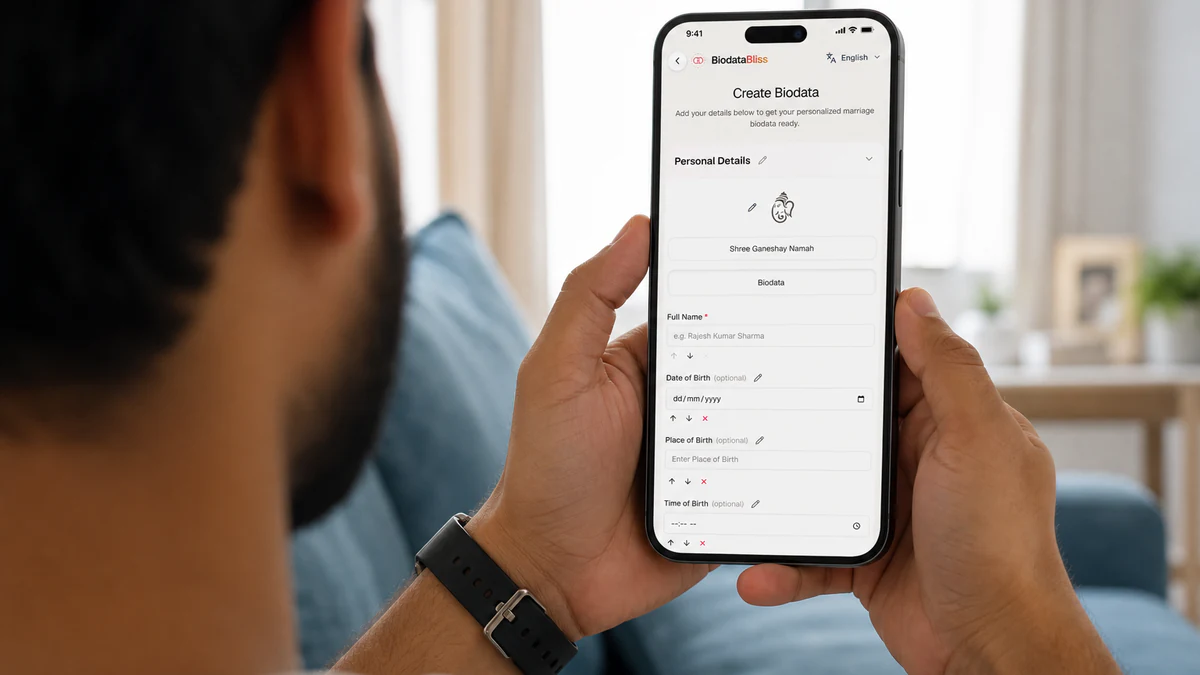
దశ 2: బయోడేటాను సృష్టించండి — పూర్తి ప్రాథమిక అంశాలు, కుటుంబం, సంపర్కం మరియు ఫోటో
మీరు ఇప్పుడు సృష్టి పేజీలో ఉండాలి: https://biodatabliss.com/te/create-biodata(కొత్త ట్యాబ్లో తెరవబడుతుంది)టైప్ చేయడానికి ముందు శ్వాస తీసుకోండి. తల్లిదండ్రులు లేదా తోబుట్టువులు సవరణల కోసం అడిగినప్పుడు ఆలోచించదగిన మొదటి పాస్ సమయం ఆదా అవుతుంది.
మీ వివాహ పునఃప్రారంభాన్ని సృష్టించండిమీరు సరైన ప్రవాహంలో ఉన్నారని ఈ శీర్షిక నిర్ధారిస్తుంది. ప్రతి దశను క్రమంలో పూరించండి, తద్వారా మీ వివాహ బయోడేటా సంపూర్ణంగా మరియు సమతుల్యంగా ఉంటుంది.
హీరో కింద, మీరు సపోర్టింగ్ లైన్ని చూస్తారు: మీ వ్యక్తిగతీకరించిన వివాహ బయోడేటాను రూపొందించడానికి దిగువన మీ సమాచారాన్ని పూరించండి.. ఒకసారి చదవండి - ఇది ప్రవాహం ఎలా పని చేస్తుందో అంచనాలను సెట్ చేస్తుంది.
- పునఃప్రారంభం శీర్షిక మీ కుటుంబ స్వరానికి సరిపోయే క్లీన్ హెడ్డింగ్ మరియు ఉపశీర్షికను సెట్ చేయండి. సరళమైన, గౌరవప్రదమైన హెడర్ అలంకార భాష కంటే మొదటి అభిప్రాయాన్ని మెరుగుపరుస్తుంది.
- దశల స్ట్రిప్ ప్రాథమిక, కుటుంబం, సంప్రదించండి మరియు ఫోటోని అనుసరిస్తుంది. ఎంట్రీలను కోల్పోకుండా దశల మధ్య సురక్షితంగా తరలించడానికి “మునుపటి” మరియు “తదుపరి”ని ఉపయోగించండి. ముందుకు వెళ్లడానికి ముందు పూర్తి పేరు ఖచ్చితంగా ఉందని నిర్ధారించుకోండి, ఎందుకంటే కుటుంబాలు తరచుగా పేరు ఫార్మాటింగ్ని ముందుగా గమనిస్తాయి.
- మీరు ప్రివ్యూకి పురోగతి: 50% వంటి పురోగతి సూచికను చూస్తారు, ఇది మీరు ఐచ్ఛిక వివరాలను జోడిస్తున్నప్పటికీ ప్రాసెస్ను నిర్వహించగలిగేలా చేస్తుంది. మీరు ఐచ్ఛిక ఫీల్డ్లను ఖాళీగా ఉంచడం ద్వారా కూడా కొనసాగవచ్చు.
- మరింత లోతు కావాలా? ఉపయోగకరమైన చోట మాత్రమే + మరియు వ్యక్తిగత వివరాలు (జాతకం, మతం, అభిరుచులు...), + తోబుట్టువులు మరియు ఆస్తి (ఐచ్ఛికం), మరియు + ఇమెయిల్, చిరునామా & మరిన్ని (ఐచ్ఛికం) విస్తరించండి. ఇది జాతక క్షేత్రాలు, తోబుట్టువుల గమనికలు, చిరునామా సందర్భం లేదా ద్వితీయ సంప్రదింపు వివరాలకు అనువైనది. అదనపు బ్లాక్లను కుదించడానికి ఐచ్ఛిక ఫీల్డ్లను దాచండిని ఉపయోగించండి, తద్వారా ఫారమ్ను స్కాన్ చేయడం సులభం అవుతుంది.
- ప్రతి అడుగు లోపల, విభాగం కార్డ్లు మీరు క్రమబద్ధంగా ఉండేందుకు సహాయపడతాయి. మీకు అవసరమైన వాటిని విస్తరించండి, "ఫీల్డ్ని జోడించు"ని ఉపయోగించి అడ్డు వరుసలను జోడించండి, స్పష్టత కోసం విభాగం శీర్షిక పేరు మార్చండి మరియు మీ ప్రొఫైల్కు డిఫాల్ట్ల ద్వారా కవర్ చేయని అనుకూల బ్లాక్ అవసరమైనప్పుడు + కొత్త విభాగాన్ని జోడించండిని ఉపయోగించండి.
- ఫోటో అప్లోడ్ పోర్ట్రెయిట్ ఐచ్ఛికం, కానీ మీరు ఒకదాన్ని జోడిస్తే, దాన్ని ఇటీవలి మరియు సహజంగా ఉంచండి. ఆన్-స్క్రీన్ మార్గదర్శకత్వం బయోడేటాకి ఫోటోను జోడించండి (ఐచ్ఛికం). ఇది చిన్న ఎగువ చిహ్నం నుండి భిన్నంగా ఉంటుంది.గా కనిపిస్తుంది, కాబట్టి మొబైల్ మరియు ప్రింట్ వీక్షణ రెండింటికీ ఏది ఉత్తమంగా పని చేస్తుందో మీకు తెలుస్తుంది.
మీరు వివరాలను పూర్తి చేసి, త్వరిత అక్షర దోషాన్ని తనిఖీ చేసిన తర్వాత, లేబుల్ చేయబడిన ప్రాథమిక బటన్ను నొక్కండి టెంప్లేట్ని ఎంచుకోండి మరియు డౌన్లోడ్ చేయండి. ఖచ్చితమైన బటన్ వచనం “టెంప్లేట్ని ఎంచుకోండి మరియు డౌన్లోడ్ చేయండి”, మరియు ఇది మిమ్మల్ని టెంప్లేట్ ప్రివ్యూ మరియు చెక్అవుట్కి తీసుకెళ్తుంది.
దశ 3: టెంప్లేట్లను ప్రివ్యూ చేయండి, అనుకూలీకరించండి మరియు సురక్షితంగా చెల్లించండి
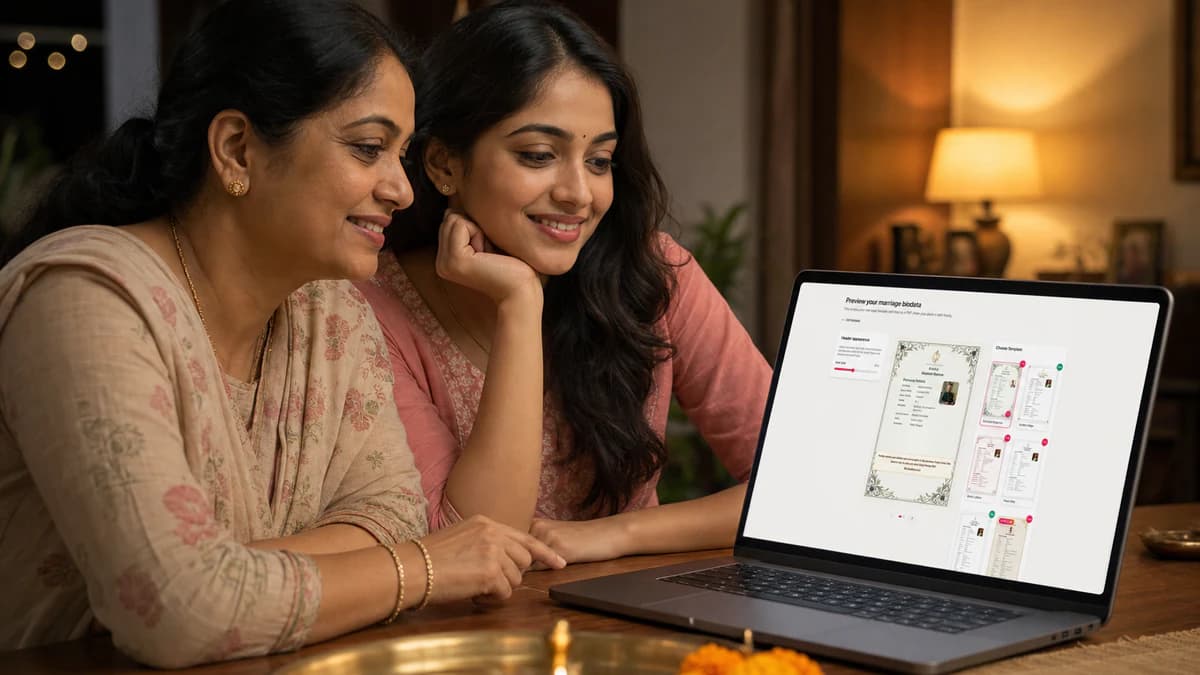
ఫారమ్ను సమర్పించిన తర్వాత, మీరు ప్రివ్యూ పేజీకి చేరుకుంటారు: https://biodatabliss.com/te/preview-biodata(కొత్త ట్యాబ్లో తెరవబడుతుంది)ఇక్కడే మీ డ్రాఫ్ట్ నిజమైన ఫార్మాటింగ్తో పాలిష్ చేయబడిన PDF-శైలి పత్రంగా మారుతుంది.
మీ వివాహ పునఃప్రారంభాన్ని వీక్షించండికొనుగోలుకు ముందు మీరు తుది ఎంపిక దశలో ఉన్నారని ఈ పేజీ శీర్షిక నిర్ధారిస్తుంది.
- రూపాన్ని త్వరగా సరిపోల్చడానికి టెంప్లేట్ స్ట్రిప్ని ఉపయోగించండి. మారుతున్నప్పుడు మీ నిజమైన వచనాన్ని కనిపించేలా ఉంచండి, ఎందుకంటే అలంకరణ కంటే చదవడం ముఖ్యం. మీ ఆర్డర్ కోసం ప్రారంభించబడినప్పుడు రేజర్ పే ద్వారా చెక్అవుట్ కొనసాగుతుంది.
- ఫాంట్లు మరియు రంగులను ట్యూన్ చేయడానికి “అనుకూలీకరించండి”ని తెరవండి. చిన్న శుద్ధీకరణలు పెద్దలు చదవడానికి సుదీర్ఘ విద్యను లేదా కుటుంబ మార్గాలను గణనీయంగా సులభతరం చేస్తాయి.
- మీరు ప్రివ్యూలో “సంగ్రహావలోకనం” లేబుల్ని గమనించవచ్చు. ఆ గుర్తు స్క్రీన్ ప్రివ్యూ సందర్భం కోసం మాత్రమే మరియు మీ చివరి చెల్లింపు PDFలో కనిపించదు.
- చెల్లింపుకు ముందు, ధర, కూపన్ ఎంట్రీ మరియు ఐచ్ఛిక డెలివరీ ఇమెయిల్ను సమీక్షించడానికి “తనిఖీ మరియు చెల్లింపు” తెరవండి. స్పెల్లింగ్లు మరియు సంప్రదింపు వివరాలను చివరిసారిగా నిర్ధారించడానికి ఇదే సరైన సమయం.
సిద్ధంగా ఉన్నప్పుడు, లేబుల్ బటన్తో కొనసాగండి ప్రీమియం PDF పొందండి. UPI, కార్డ్ లేదా నెట్బ్యాంకింగ్ వంటి అందుబాటులో ఉన్న పద్ధతులు చూపబడే “ప్రీమియం PDF పొందండి”ని నొక్కడం ద్వారా రేజర్ పే చెక్అవుట్ తెరవబడుతుంది.
మీరు చెల్లింపును పూర్తి చేసిన తర్వాత మళ్లీ సందర్శిస్తే, ప్రధాన చర్య "బయోడేటాని డౌన్లోడ్ చేయండి"ని ప్రదర్శిస్తుంది. మొదటి సారి కొనుగోలు కోసం, క్రమం “ప్రీమియం PDF పొందండి” → రేజర్ పే → సక్సెస్ స్క్రీన్గా ఉంటుంది.
దశ 4: భాగస్వామ్యం చేయడానికి మరియు డౌన్లోడ్ చేయడానికి చెల్లింపు విజయవంతమైన పేజీని ఉపయోగించండి
విజయవంతమైన చెల్లింపు నిర్ధారణ తర్వాత, మీరు BiodataBliss సక్సెస్ స్క్రీన్కు మళ్లించబడతారు. URL దిగువ చూపిన నమూనాను అనుసరిస్తుంది మరియు Razorpay నుండి మీ ఆర్డర్ ఐడెంటిఫైయర్ను కలిగి ఉంటుంది, కనుక ఇది ప్రతి వినియోగదారుకు భిన్నంగా కనిపించవచ్చు.
ఉదాహరణ విజయవంతమైన URL ఆకృతి
https://biodatabliss.com/te/payment/success?order_id=…
మీరు ఎప్పుడైనా సక్సెస్ ఎంట్రీ పాయింట్ని మళ్లీ సందర్శించవచ్చు. చెల్లుబాటు అయ్యే పూర్తి ఆర్డర్ ఐడి లేకపోతే, పేజీ పూర్తి రసీదు చర్యలకు బదులుగా సంక్షిప్త సందేశాన్ని చూపుతుంది. https://biodatabliss.com/te/payment/success(కొత్త ట్యాబ్లో తెరవబడుతుంది)
చెల్లింపు విజయవంతమైంది 🔥విజయ వీక్షణలో, మీరు “మీ బయోడేటా డౌన్లోడ్ కోసం సిద్ధంగా ఉంది” తర్వాత నిర్ధారణ లైన్ను చూస్తారు, ఆపై త్వరిత చర్య బటన్లు కనిపిస్తాయి.
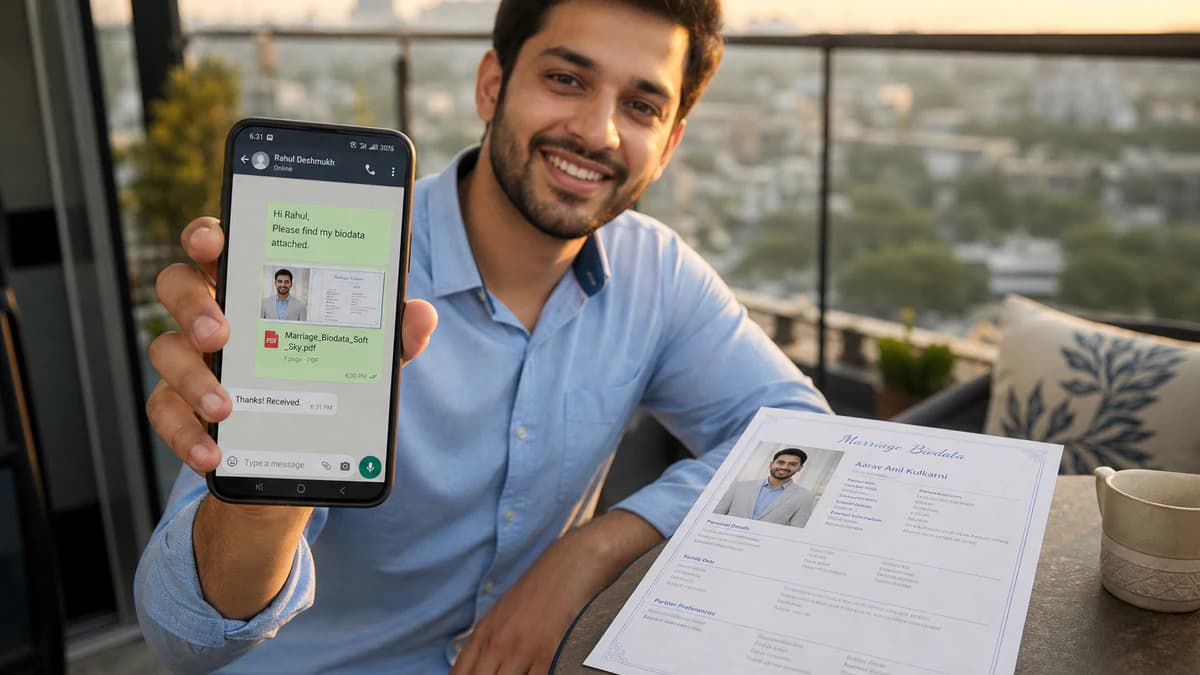
- భాగస్వామ్యం PDF “భాగస్వామ్యం PDF” చర్య మద్దతు ఉన్న చోట మీ పరికర భాగస్వామ్య ఎంపికలను తెరుస్తుంది, తద్వారా తల్లిదండ్రులు, తోబుట్టువులు లేదా షార్ట్లిస్ట్ చేసిన కుటుంబాలకు బయోడేటా లింక్ను పంపడం సులభం అవుతుంది.
- డౌన్లోడ్ PDF “డౌన్లోడ్ PDF” చర్య మీకు క్లీన్ కాపీని మళ్లీ అవసరమైనప్పుడు సురక్షిత నిల్వ నుండి మీరు కొనుగోలు చేసిన వివాహ బయోడేటా PDFని పునరుత్పత్తి చేస్తుంది.
మీరు మీ సురక్షిత లింక్తో తిరిగి రావడానికి మరియు సమాచారాన్ని తర్వాత నవీకరించడానికి “బయోడేటాని సవరించండి”ని కూడా ఉపయోగించవచ్చు లేదా ప్రధాన వెబ్సైట్కి తిరిగి వెళ్లడానికి “ఇంటికి వెళ్ళు”ని నొక్కండి.
చివరి చిట్కా
మీ వివాహ బయోడేటాను మీ కుటుంబ పరిచయ కార్డ్ లాగా పరిగణించండి: స్పష్టంగా, గౌరవప్రదంగా మరియు ధృవీకరించడం సులభం. “ప్రీమియం PDF పొందండి”ని నొక్కే ముందు, మీరు విశ్వసించే వారితో ఒకసారి పేర్లు, తేదీలు మరియు సంప్రదింపు లైన్లను సమీక్షించండి. ఆఫ్లైన్ కాపీని ఉంచడానికి మరియు నమ్మకంగా భాగస్వామ్యం చేయడానికి “డౌన్లోడ్ PDF”ని ఉపయోగించండి.
Need the checklist? What to include in a marriage biodata Prefer designs? Browse marriage biodata templates When you are ready, create free on BiodataBliss.
FAQs
How do I create biodata for marriage online free?
Open BiodataBliss, use Create Biodata, fill Basics → Family → Contact → Photo, preview templates, then download. You can start free and preview before paying for a premium PDF.
How long does marriage biodata in minutes really take?
Most people finish a first draft in a few minutes if details are ready. Family review may add another short pass for spellings and photo.
Is PDF better than Word for WhatsApp?
Yes. A one-page marriage biodata PDF keeps layout intact on phones; Word files often break when forwarded.
Can I edit after download?
Yes. Use the edit link from the success flow when available, update fields, and download again.
మీరు సిద్ధంగా ఉన్నప్పుడు — ఫారమ్ను తెరిచి, BiodataBlissలో మీ వివాహ బయోడేటాను ప్రారంభించండి.
ఇప్పుడే బయోడేటాని సృష్టించండి